DIY Self‑Watering Planter Tutorial: Save Water & Grow Healthy Herbs
Self‑watering planters are a gardener’s best friend: they keep soil consistently moist, drastically reduce watering frequency, and help busy or forgetful plant parents succeed. In this guide, we’ll build a simple DIY version from inexpensive materials, step by step.
```What You’ll Gain
- Consistent moisture—no more daily watering.
- Water savings—your plants drink only what they need.
- Healthier roots—reduced risk of over‑ or under‑watering.
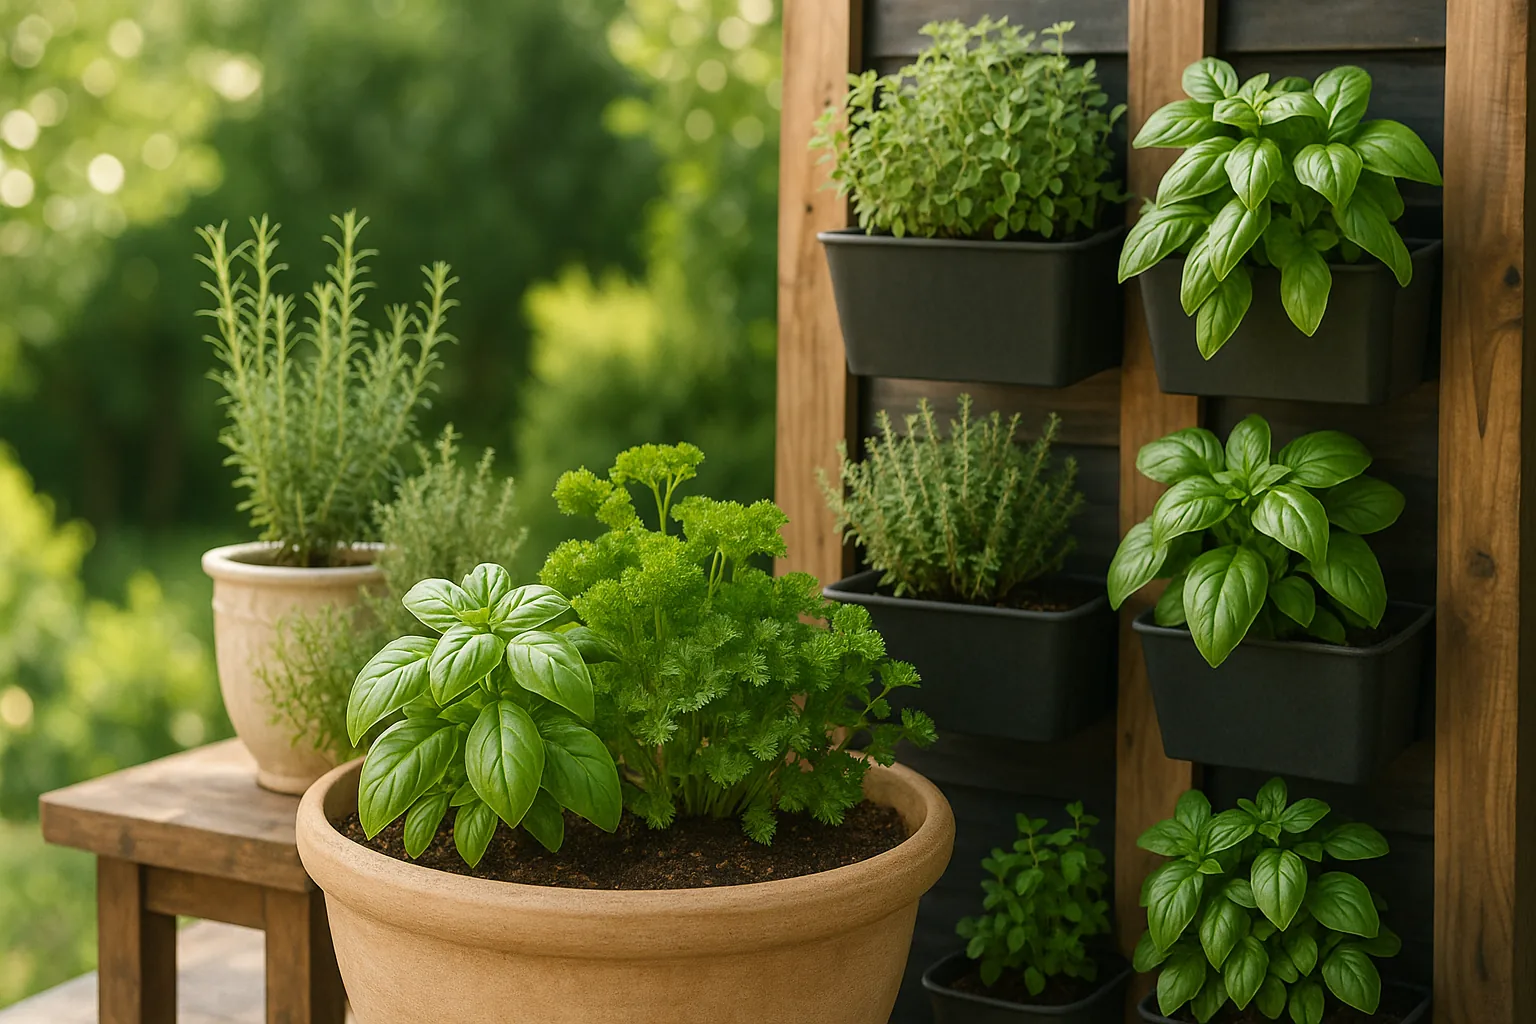
- Perfect for herbs, veggies, and decorative plants alike.
Materials & Tools
- 5‑gallon plastic bucket (with lid)
- Plastic deli container or inner pot
- Wicking material (cotton rope or strip of fabric)
- Potting mix + perlite
- Gravel or small stones
- Drill with ½" and ¼" bits
- Pencil, measuring tape
- Scissors or utility knife
How It Works
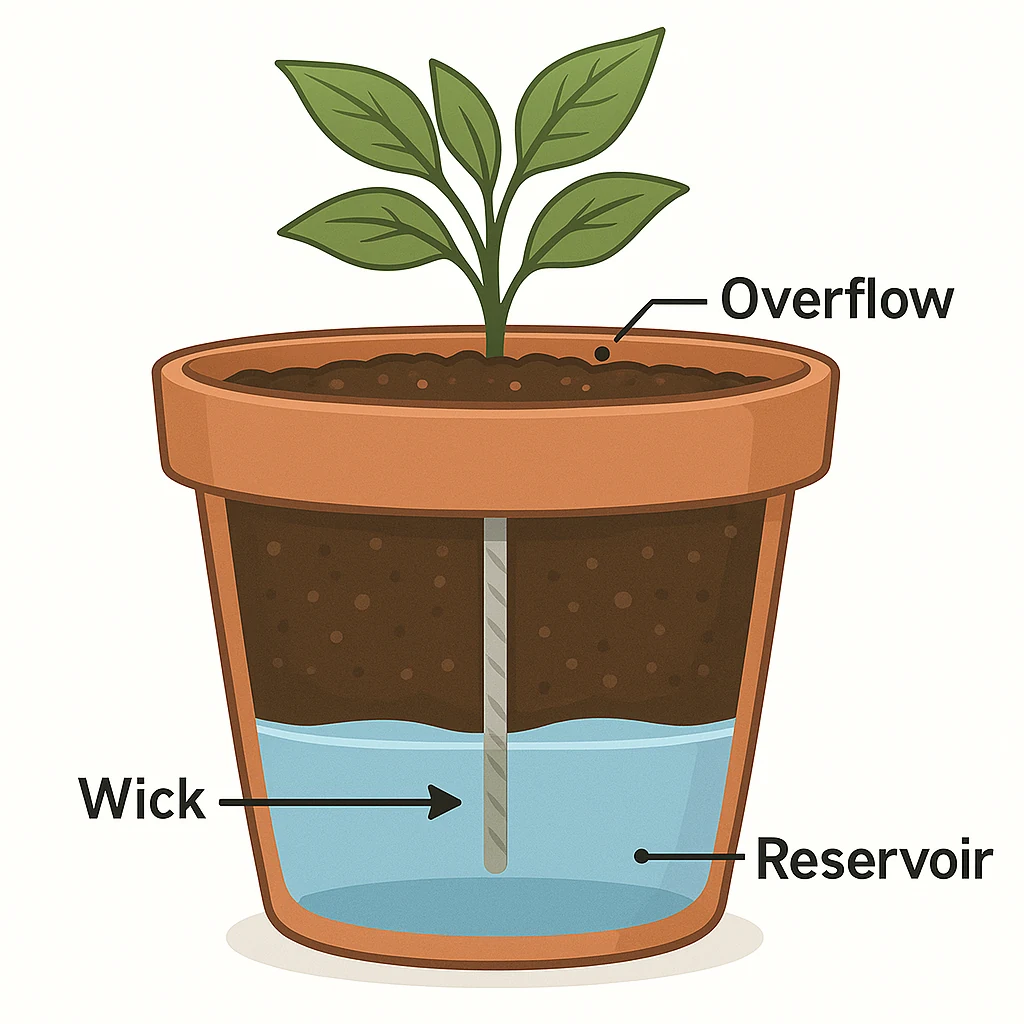
The inner pot holds your plants and soil, with a wick dipping into the water reservoir below. Capillary action draws moisture up as the soil dries, keeping the root zone evenly hydrated.
Step-by-Step Build
1. Prepare the Reservoir Bucket
- Drill a ½" hole about 2" from the bottom for overflow drainage.
- Place 1–2" of gravel in the bucket base to keep soil from sinking.
2. Create the Inner Pot
- Drill several ¼" holes in the bottom of your deli container for water access.
- Cut a small notch on the rim to thread your wick through.
3. Install the Wick
- Pull one end of the cotton rope into the deli pot so half hangs into the reservoir.
- Ensure the rope reaches the bottom gravel layer.
4. Layer & Plant
- Fill the inner pot with well‑draining potting mix (mix 3:1 soil to perlite).
- Gently plant your herbs or seedlings.
- Lower the inner pot into the bucket, adjusting the wick.
5. Fill & Top Up
- Pour water into the reservoir until it flows out the overflow hole; this sets your fill line.
- Refill weekly or when reservoir level drops below gravel.
Care Tips & Troubleshooting
- Algae Growth: Keep reservoir covered or shaded.
- Root Rot: Ensure overflow hole drains any excess water.
- Low Water Flow: Check wick for clogs; replace annually.
- Winter Care: Empty reservoir to prevent freezing damage.
With this simple build, you’ll enjoy thriving herbs with minimal effort—perfect for balconies, patios, or kitchen counters. Happy planting!
```